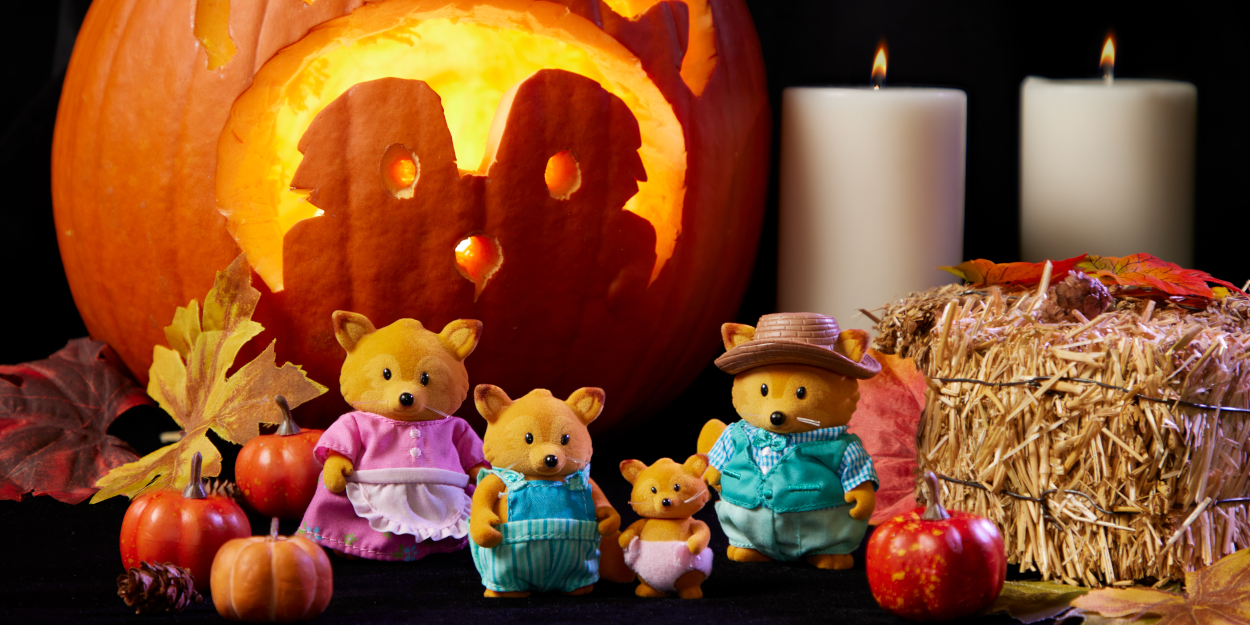
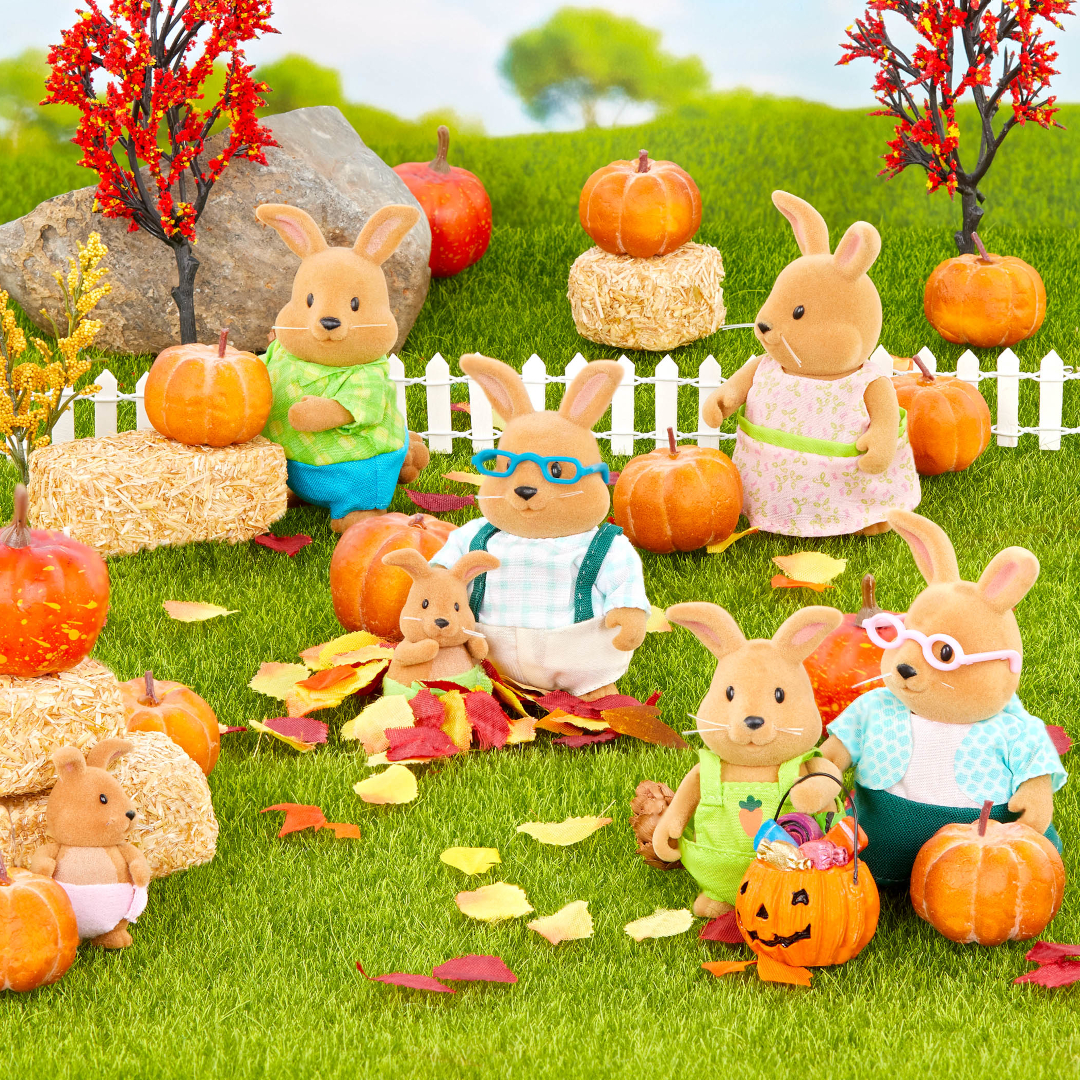
It’s spooky season in Honeysuckle Hollow! There’s a chill breeze in the air and the Li’l Woodzeez are decorating their homes with all sorts of ghoulish goodies. Everywhere you look, there are giant cobwebs, silly scarecrows, and carefully carved jack-o-lanterns. It’s an exciting time of year when all the neighbors put their artwork on display and come together to celebrate Halloween.
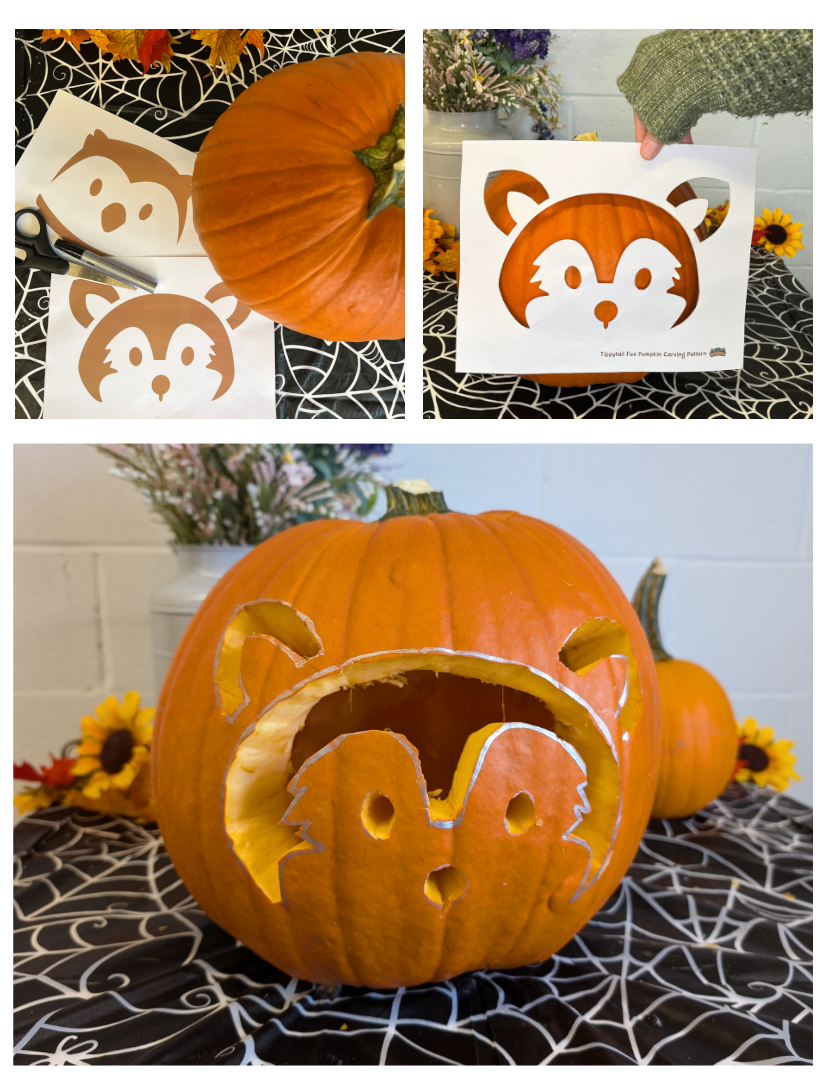
This time around, they’ve made something special, just for YOU: two pumpkin carving stencils for you and your family to enjoy. One looks like a member of the Tippytail Fox Family, and the other looks like a Whooswhoo Owl!
Print the stencils out below and let’s make something spook-tacular! And read on for tips on how to carve a pumpkin like a pro.

How to Use Li’l Woodzeez Pumpkin Carving Stencils
- Wipe your pumpkin clean with a damp cloth.
- Cut a circle through the top of the pumpkin, pointing inward at 45 degrees, around the pumpkin’s stem. This will create a lid to your jack-o-lantern.
- Use a large spoon to scoop and scrape out the pumpkin’s insides.
- Print the stencil you want to use and use a pair of scissors to cut out the darker shapes. (It’s ok if it’s not perfect!)
- Tape the stencil onto the face of your pumpkin. Then, use a marker to trace the inner edges of the stencil onto the pumpkin.
- Remove the stencil and use a pumpkin carving knife to cut the traced shapes out of the pumpkin.
- When finished, place 1-3 tea candles or electronic candles inside the pumpkin and put the pumpkin’s lid back on. Ta-da!

Tips n’ Tricks for Pumpkin Carving
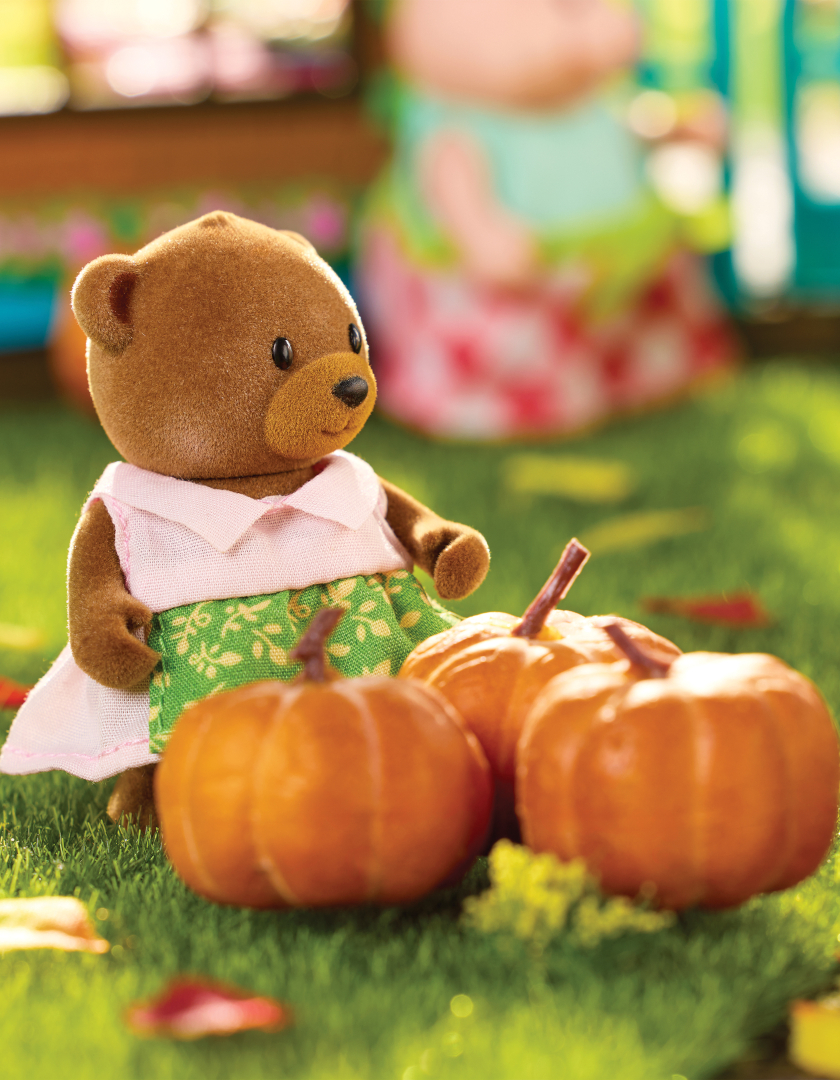
As you might already know, pumpkin carving is trickier than it looks! These big, orange melons – yep, they’re melons – have very thick flesh, which can make it difficult to carve intricate designs. But never fear! With just a little bit of know-how, your pumpkin is going to look fa-boo-lous. Here are some tips to carve the perfect pumpkin!
Choose your pumpkin wisely
- Select a fresh, sturdy pumpkin with smooth and relatively flat sides as this will make it easier to carve the face.
- If you can, pick a pumpkin with a good stem of 2 inches or more. This will make it easier for you to open and shut the cap.
- Consider picking a pumpkin of a different color, like green or white. A bumpy pumpkin has more character, too!
Gather the right tools
- Look for a pumpkin carving knife or keyhole saw to carve your pumpkin. Its design is much narrower than a regular kitchen knife, which allows for more precise carving.
- Use a large metal spoon to dig the seeds and flesh out from inside the pumpkin. A special spoon with serrated edges like a grapefruit spoon is perfect for the job!
- Battery-powered tea lights are safer and more reliable than candles. You can also use colored lights – like red, purple, and blue – for a jack-o-lantern that’s out of the box!
- Use a dry-erase marker to draw your pumpkin’s face as this will allow you to erase any mistakes you make.
- Electric drills are great for creating small holes. Just be careful that you hold the pumpkin steady.
Use good carving techniques
- Draw the face of your pumpkin in advance so you can cut into your design without giving it a second thought.
- Cut a V-shaped notch along the edge of the pumpkin’s lid, so you can easily remember which way it closes. The extra notch will also help to prevent the lid from falling into the pumpkin!
- Cut a hole in the back of the pumpkin. This will give you a larger opening to clean out the inside while giving a real candle more space for you to handle it safely.
- Try shaving some parts of the pumpkin for a 3D look! Use a utility knife or craft knife with a short blade to etch the pumpkin.
Preserve the pumpkin
- If making your jack-o-lantern 3 or more days in advance, spray it with white vinegar as soon as you are done carving to prevent mold.
- Apply petroleum jelly to the carved surfaces of the pumpkin to seal in moisture and prevent the pumpkin from drying up.

What to do with Pumpkin Seeds
Ever asked yourself what you can make with leftover pumpkin seeds? Great question! The Li’l Woodzeez love to roast pumpkin seeds for a tasty, healthy snack. Add them to salads, use them as soup toppings, or season them to your liking and eat them as they are. Barbara Healthnuggle loves cumin and onion powder, while Earl Bustleberry adds cayenne for a li’l kick! Just be sure that you don’t eat raw pumpkin seeds.
Here’s what you can do with leftover pumpkin seeds:
- Wash seeds in water and dry with a towel. Season with olive oil, salt, and spices to taste, then roast at 350°F for 12 to 15 minutes.
- Feed raw seeds in small portions to a pet hamster, rat, mouse, or rabbit.
- Start a pumpkin patch in your vegetable garden!

Leave a comment below if you have any pumpkin carving tips of your own! And share pictures of your pumpkin carvings with us by tagging @lilwoodzeez on Facebook, Instagram, and TikTok. For more Halloween activities for kids, check out our Halloween Scavenger Hunt, an interactive kids’ story, and a spook-tacular tale about Bo Nibblekin’s first time trick-or-treating. Happy Halloween!
